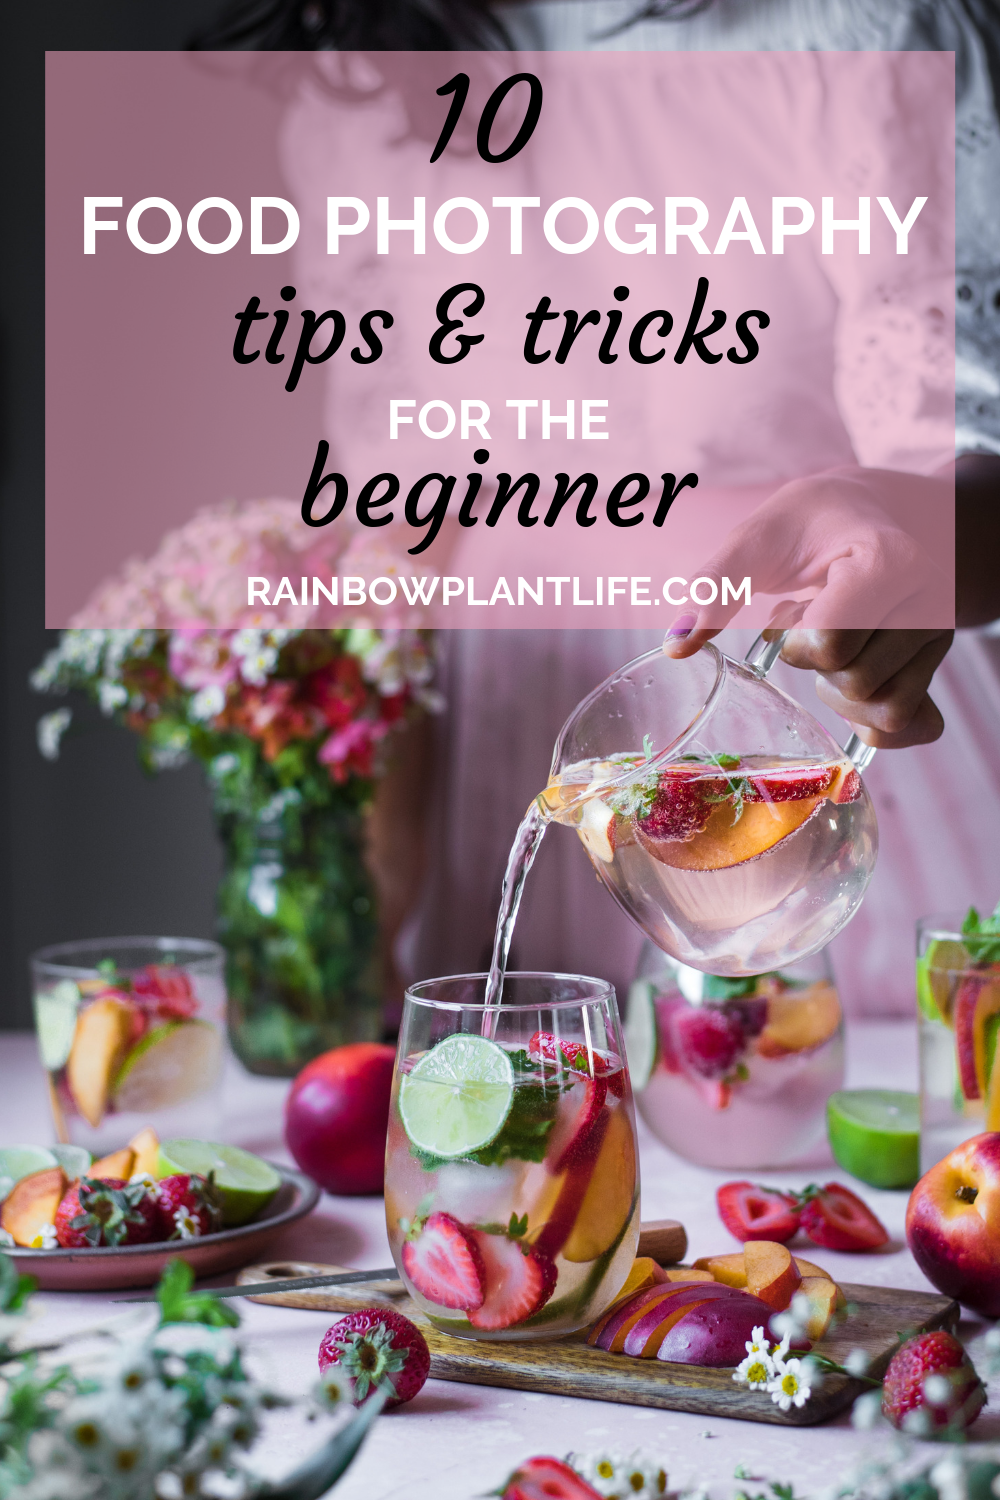
Today I want to talk about a topic that’s near and dear to my heart: food photography. Before we get to it, this is a four-part series, so scroll to the bottom for Parts II, III, and IV. And if you’re not already signed up for my Food Photography Snapshot (i.e., newsletter), be sure to do that over on the Resources Page.
[Note: I originally wrote this series in 2017, but updated it significantly in 2019.]
I began my foray into food photography in 2016. When I first started, I knew literally nothing. I was taking photos with my iPhone in fluorescent kitchen lighting, I didn’t know how aperture or shutter speed worked, and I was taking photos on hideous yellow and green dinner plates. #theworst
And while I am not proclaiming to be an expert (everything I’ve learned has been self-taught or taught through online tutorials), I sure have learned a lot along the way. And I get loads of questions on Instagram and Youtube about food photography, so here are my top tips for beginner food photographers! These tips really helped my work blossom, especially when I first started out.
1. Make Friends with Natural Light
The #1 tip I give anyone interested in food photography is to shoot in natural light. While there are tons of talented photographers who shoot in artificial light, I think natural light is the best way to go for beginners. For one, you don’t have to worry about learning all that complicated, technical lighting stuff, like which lights to purchase and how to operate them. Second, I think natural light is a simple yet powerful tool that every photographer should learn how to work with and manipulate.

Shot with natural light streaming in from the side of a south facing window.
When you get to be more advanced, you can try experimenting with an artificial light source designed for indoor photography (think strobes, flash, etc.) but never ever ever use fluorescent or ordinary overhead lights in your home. Fluorescent lighting is to food photography what IKEA is to a craft artisan furniture store: an embarrassment. Not knocking IKEA because I LOVE IKEA. But fluorescent lighting gives your food an ugly, ghoulish yellow-greenish-orangish hue, making food look incredibly unappetizing, i.e., the opposite of what you want your food photos to do.
Find your favorite windows
So, turn off your kitchen lights and seek out the sources of natural light in your home. And this might sound crazy, but your source of light source does NOT have to be in your kitchen. Just pick the window(s) in your house with the best source(s) of natural light. The “best” source of light will certainly vary with the time of day and the seasons (the sunlight in my apartment is radically different in winter than in summer). Your ideal light source might be your huge bay window in your living room in the early morning and evening hours, but it also might be the tiny window in your bedroom between 11 am and 3 pm. The only way to figure this out is to practice and experiment. Take a bowl of neatly arranged fruit and photograph it at different times of day around different windows, and see which option(s) you like best and go from there.
Diffuse, if needed
Typically, my preference is to shoot on cloudy days or when the sun is low on the horizon. That’s because I have 4 huge floor-length windows in my living room (and three smaller windows), so shooting on a sunny day can bring in too much light (unless I’m going for a “hard light” look).
In the photos above, I used the same board and similar food styling for somewhat similar dishes, but they look quite different. On the left, I shot in direct light, creating those hard, defined shadows and strong contrast. On the right, I shot in indirect light on a cloudy day.
If it’s not as cloudy as I would like and the sunlight is too strong and I’m not going for a hard light look, I will use a diffuser. If you have too much light streaming in or it’s the middle of the day, a diffuser can soften the light, making it less direct and harsh. You can buy all sorts of diffusers, such as this one. But if you want to work with what you’ve got, try a semi-sheer white curtain over your window. Don’t have a curtain? Try a thin white bed sheet or dish towel, or you can even tape parchment paper on your window.
Reflect, if needed
Another way to manipulate your light source is to use a reflector to bounce light back onto your food and remove any dark shadows. You can use a variety of materials for a reflector or a “white card,” as it is sometimes called. I’ve used this set of reflectors before, which gives you a nice variety since it’s a 5-in-1 pack, but you’ll need a stand and clip to hold the reflectors in place (they don’t stand up on their own). For a cheaper, easier solution, I just use a white foam board that you can buy at any craft store. If you want to add more shadows to your photo, use a “black card” or a black reflector/foam board to take away light.
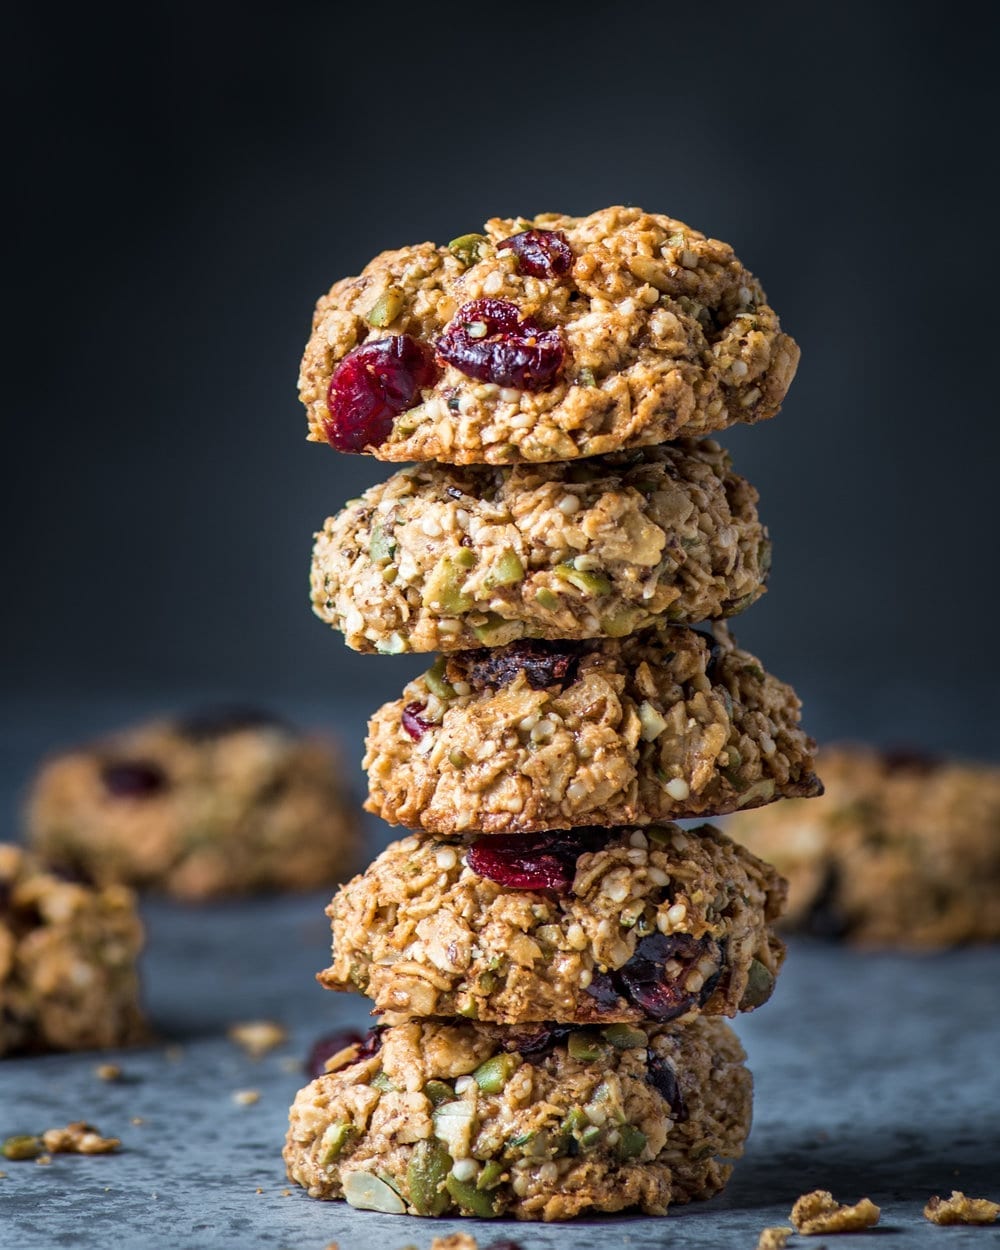
A reflector is useful for photos where one part of the dish is in the shadows (without the reflector, the right side of the cookies would have been much darker).
2. Invest in a Good Camera and Lenses (Once You’re Ready)
Let me preface this by saying you do not need a fancy pants camera to be a good food photographer. There are plenty of foodies who use their iPhones and take really beautiful photos. But, if you want to take your photography to the next level, if you want super sharp images at high resolution, and if you want maximum control over light and depth of field, a DSLR camera (or a mirrorless camera) is worth the investment.
If you’re just starting out and don’t know much about food photography, keep your wallet closed for the meantime. I find that it is much more useful to know the fundamentals of photography (see tip #3 below) before you take the plunge. If you start learning about food photography and decide that it’s not for you, at least you won’t have dropped a bunch of billz on a fancy camera. Plus, reading your camera manual without knowing what “aperture” means will be confusing.
I started with a beginner’s DSLR camera, the Nikon D3300. It’s pretty inexpensive for the quality. I have a lot of foodie friends who started out with Canon Rebel cameras and loved them. If you haven’t picked Team Nikon or Canon yet, I will say that I really like my Nikon, but I think a greater number of food photographers use Canon (anecdotal evidence only).
After a year and a half, I invested in a more professional-quality DLSR camera, the Nikon D750*. That, along with a few good lenses, really elevated my food photography game. But I am glad I didn’t start off with this camera because when I started, I had no idea how to use a camera outside of Automatic mode. It was so useful to learn the fundamentals on a beginner’s camera and then start applying those fundamentals to my new camera.
*You can see all the camera gear I use here!
In the photo above on the left, I used my Nikon D3300 (introductory DSLR camera) and it was taken in early 2017, when I still didn’t know too much about food photography. On the right, I used my Nikon D750 camera, and the photo was taken at the end of 2018. While there is also a notable improvement in the styling, you can also see that the photo on the right is sharper (one of the benefits of a higher-end camera).
Possibly even more important than the camera you use are the lenses. But lenses alone deserve a separate blog post, so more on that later!
3. Learn the Fundamentals
Some people use the term “Holy Trinity” to refer to God, Jesus, and the Holy Spirit. I am irreverent so I use it to refer to Aperture, Shutter Speed and ISO. This “exposure trio” is what determines exposure–the amount of light that reaches your camera’s sensor and selects how light or dark your photo will appear.
I’m not going to give you an in-depth definition of these terms since I trust you know how Google works. But I will give you a brief description of what each term means for food photography. It’s really important to understand how this Holy Trinity works in order to improve your food photography, so don’t skip (or skim) this section!
Aperture
Aperture is basically a hole through which light travels (i.e., your lens) and it is expressed in f-stop numbers such as f/8 or f/2.8. There are two main things you should know about aperture.
(1) Large apertures, or large holes, mean large sources of light. Confusingly enough, a large aperture starts at the lower end of the f/stop numerical scale, so f/1.8 is a large aperture that will bring in a lot of light, whereas f/22 is a tiny aperture that brings in very little light. So, if you are shooting in low light and don’t want to bump up your ISO a lot or can’t afford to reduce your shutter speed (see below), you will want to use a large aperture to let in more light.
(2) Aperture determines depth of field, with large apertures (low f-stops) having shallow depths of field and small apertures (high f-stops) having deep depths of field. A lot of food photography uses a shallow or somewhat shallow depth of field. For table view or three-quarter angle shots, I typically use a shallow or somewhat shallow aperture (e.g., f/2.8-f/5.6); for overhead shots, somewhat more narrow (e.g., f/5.6-f/8).
These numbers are just guides and not hard-and-fast rules. I know some photographers who use apertures as narrow as f/13 and even higher, depending on the lens they’re using (but that’s for a more advanced series). I encourage you to play around with aperture in your DSLR camera’s “Aperture Priority Mode” to see what looks best for each particular shot.
In the photo above on the left, I used an aperture of f/4, which is why the background is quite blurred out. In the photo on the right, I used an aperture of f/6.3, so everything is in relatively even focus.
Shutter Speed
Shutter speed is the length of time that your camera’s shutter remains open while you are snapping a photograph. If your shutter speed is 1/100, that means your shutter is open only for 1/100th of a second while you are taking a photo. The lower your shutter speed, the more motion blur you will have unless you use a tripod, which will be discussed in Part III of this series.
The general rule I’ve seen others use is – always use a tripod if your shutter speed is below 1/60 of a second (for most lenses), but I personally never shoot handheld unless my shutter speed is at least 1/100 (and even higher if I am using a macro lens…again, for a more advanced series).
For most food photography, especially at the beginner level, you don’t need a high shutter speed if you are using a tripod since most of the images are static. But, if you want to capture an action shot, such as dusting powdered sugar over a cake or pouring syrup over pancakes, you will need a higher shutter speed to freeze the action. Again, you should play around with the actual numbers, but I suggest a shutter speed of at least 1/125 a second or higher for these kinds of action shots.
Shutter speed: 1/160
ISO
ISO refers to how sensitive to light your camera’s sensor is. What this means is if you are shooting in an abundant source of light, your camera does not need to be very sensitive to light and a low ISO number (e.g., 100 or 200) is appropriate. If you are shooting in low-light conditions, your camera needs to be very sensitive to light and you may need a high ISO number (e.g., 1600).
If you’re thinking, “well, I shoot in a relatively dark room, I’ll just use ISO 3200,” not so fast. The higher your ISO, the more “noise” there will be in your photos, which will give them a grainy look. While this can look artsy and desirable, for most beginners, I recommend trying to stick to a relatively low ISO as much as you can. With a fancy pants camera and good editing, you can get rid of that graininess, but this is a beginner series!
Putting the Holy Trinity Together
Together, aperture, shutter speed, and ISO determine exposure, or how bright or dark your image will be. All three enable you to add or take away light, so you will need to balance the three together to get the right amount of exposure.
If you’re shooting in Aperture Priority Mode, you select which aperture/f-stop level you shoot at, and your camera will determine the appropriate shutter speed based on the selected ISO value. If you’re shooting in Shutter Priority Mode, you select which shutter speed you shoot at, and your camera will determine the appropriate aperture based on the selected ISO value (for almost all food photography purposes, Shutter Priority Mode isn’t very useful). And in Manual Mode, you have the most control and can set all three values on your own.
Let’s walk through a few examples to see how the Holy Trinity works together.
-
You are photographing a flatlay scene and want everything to be in equal focus. You select an aperture of f/8. It’s a bright day so you have a decent amount of light streaming in, but you’re shooting handheld, so you bump up your shutter speed from 1/20 to 1/125. The exposure is now much darker than if your shutter speed had been at 1/20 (using a tripod) or if your aperture were f/3.5, so you have to choose a relatively higher ISO (perhaps, ISO 800). If you want to use a lower ISO, then you would need to either (a) use a tripod so you can shoot handheld or (b) lower your aperture.
-
You’re taking an action shot of drizzling chocolate ganache on a cupcake. You will need to select a relatively high shutter speed to freeze the action. Let’s suppose it is 1/200. This high shutter speed means your camera will be open for a very short period of time, so there will be relatively little light coming in. To add light, you will need to either use a wide aperture such as f/2.8 or a higher ISO. Since the aperture you choose determines the look and feel of your photo (how shallow the depth of field is), you should select the aperture you want so you can maintain your artistic vision, and then select the ISO based on the amount of light available.
For more tips, head on over to Part II, Part III, and Part IV of this series. If you found this helpful, please leave me a comment below!
Hugs and kisses,
Nisha


Thank you so much, this is the best explanation i have seen on using aperture, shutter speed, and ISO together. The examples you gave are very enlightening
We’re happy to be of help! :)
Great tips, and the East Fork plates are beautiful!! I LOVE their pieces!
Thanks, Jennifer! :)
This post was so helpful! Thank you so much for breaking everything down. I’m getting ready to write a cookbook, but photography is all new to me. I appreciate you taking the time to walk through everything with examples!!
Of course! Thanks for the review :)
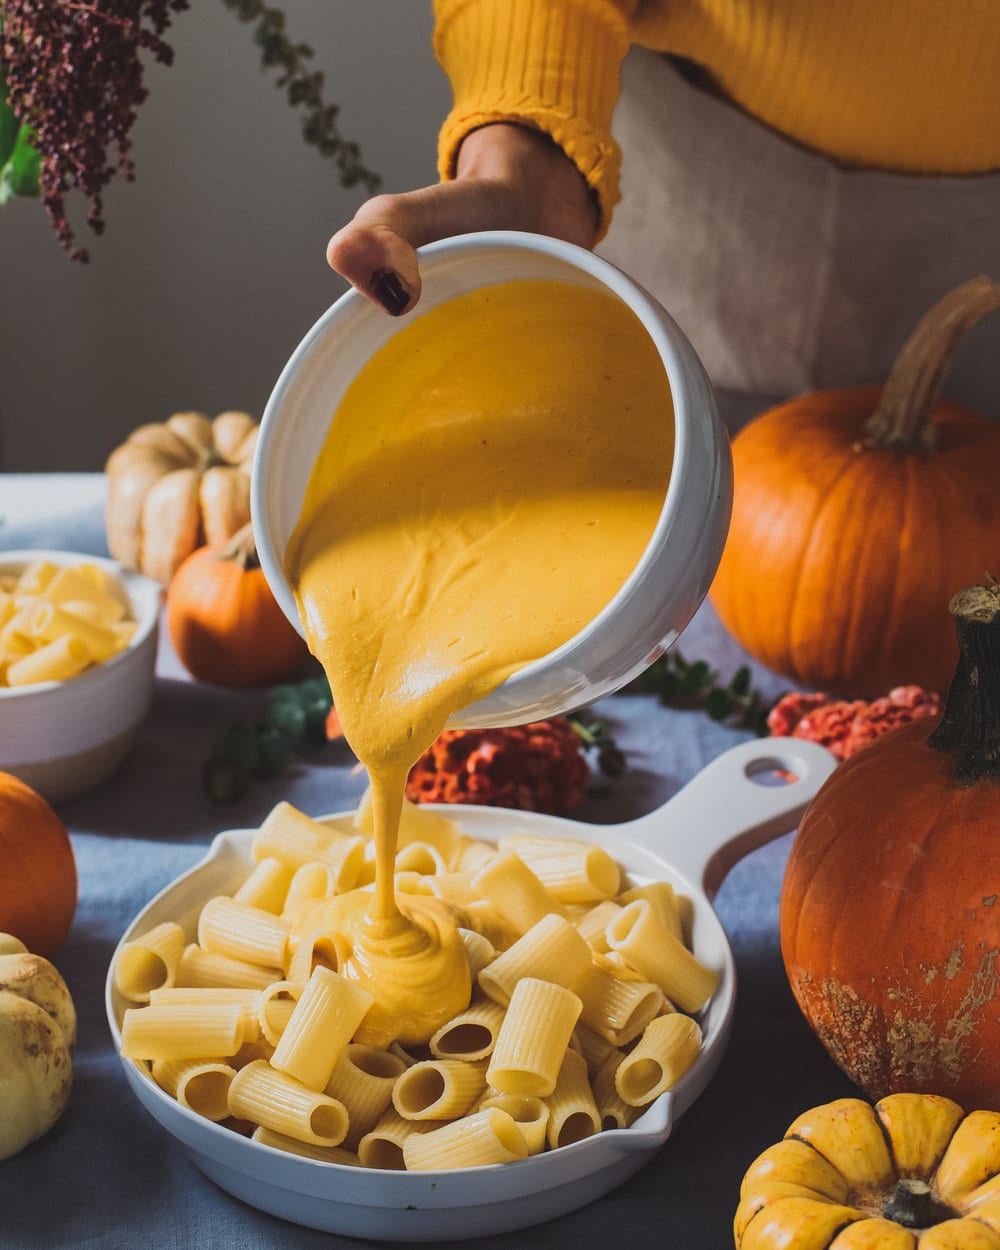
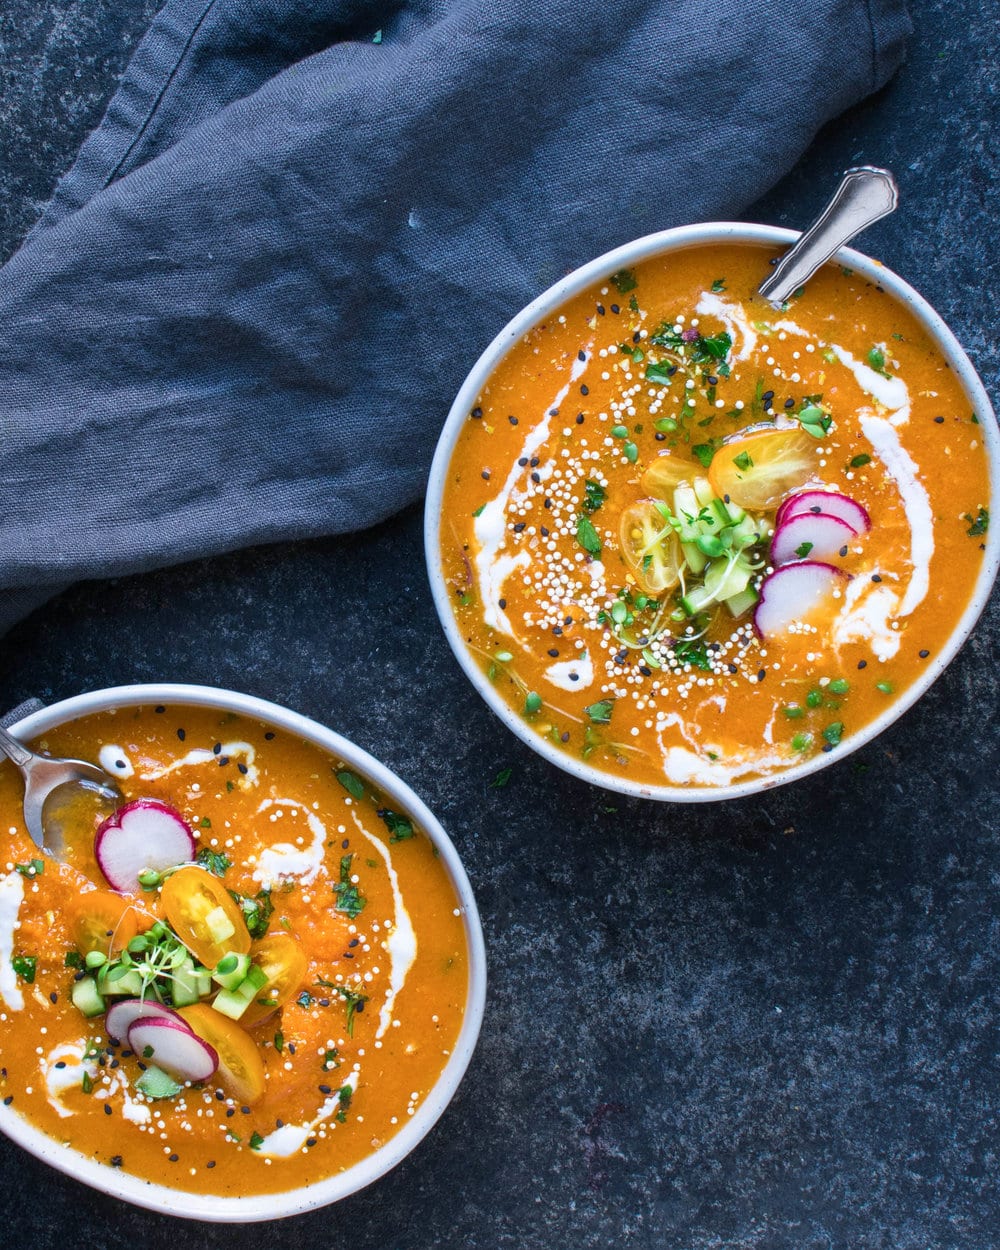
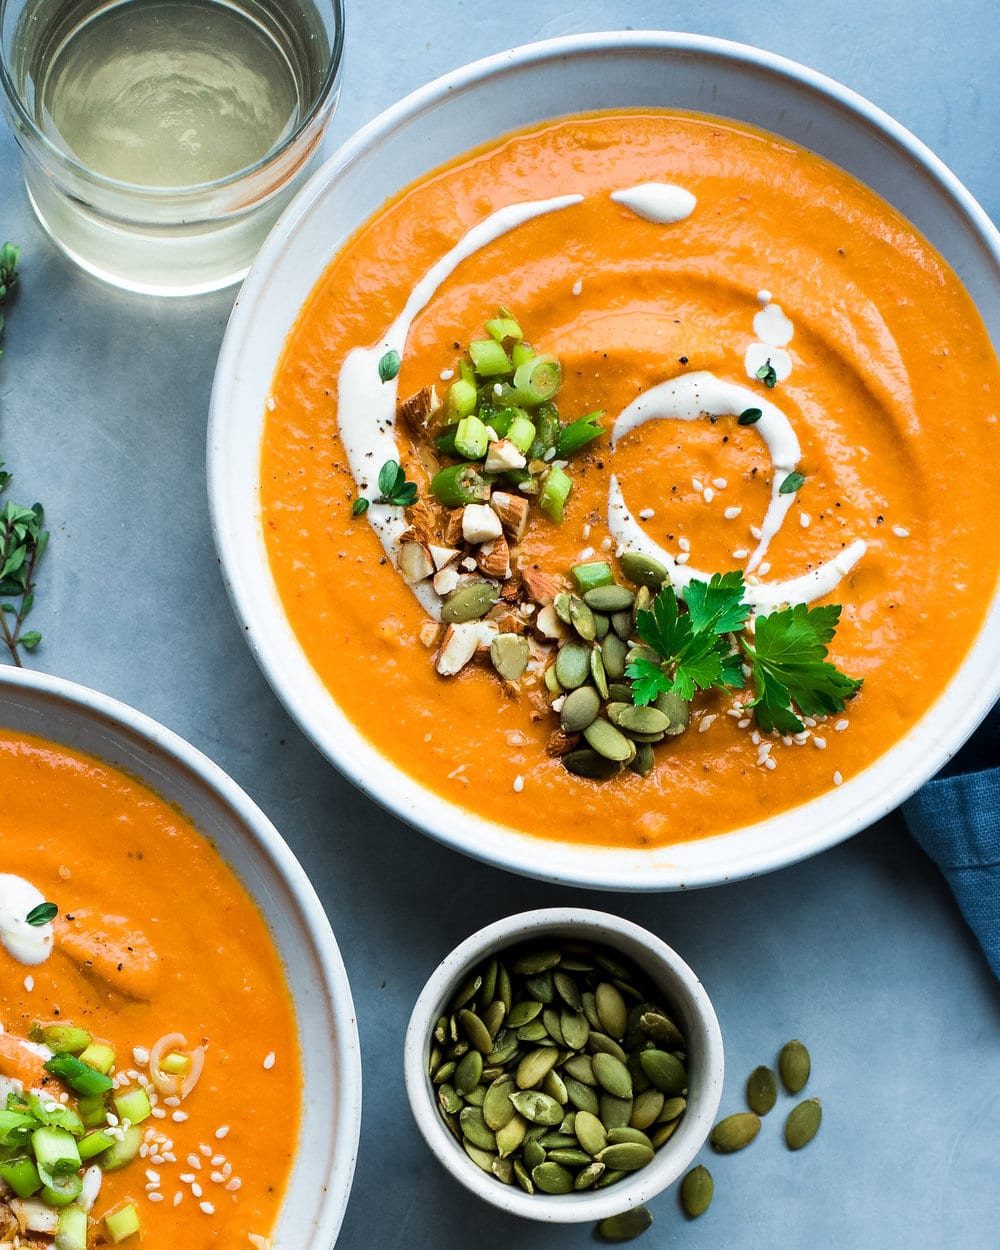
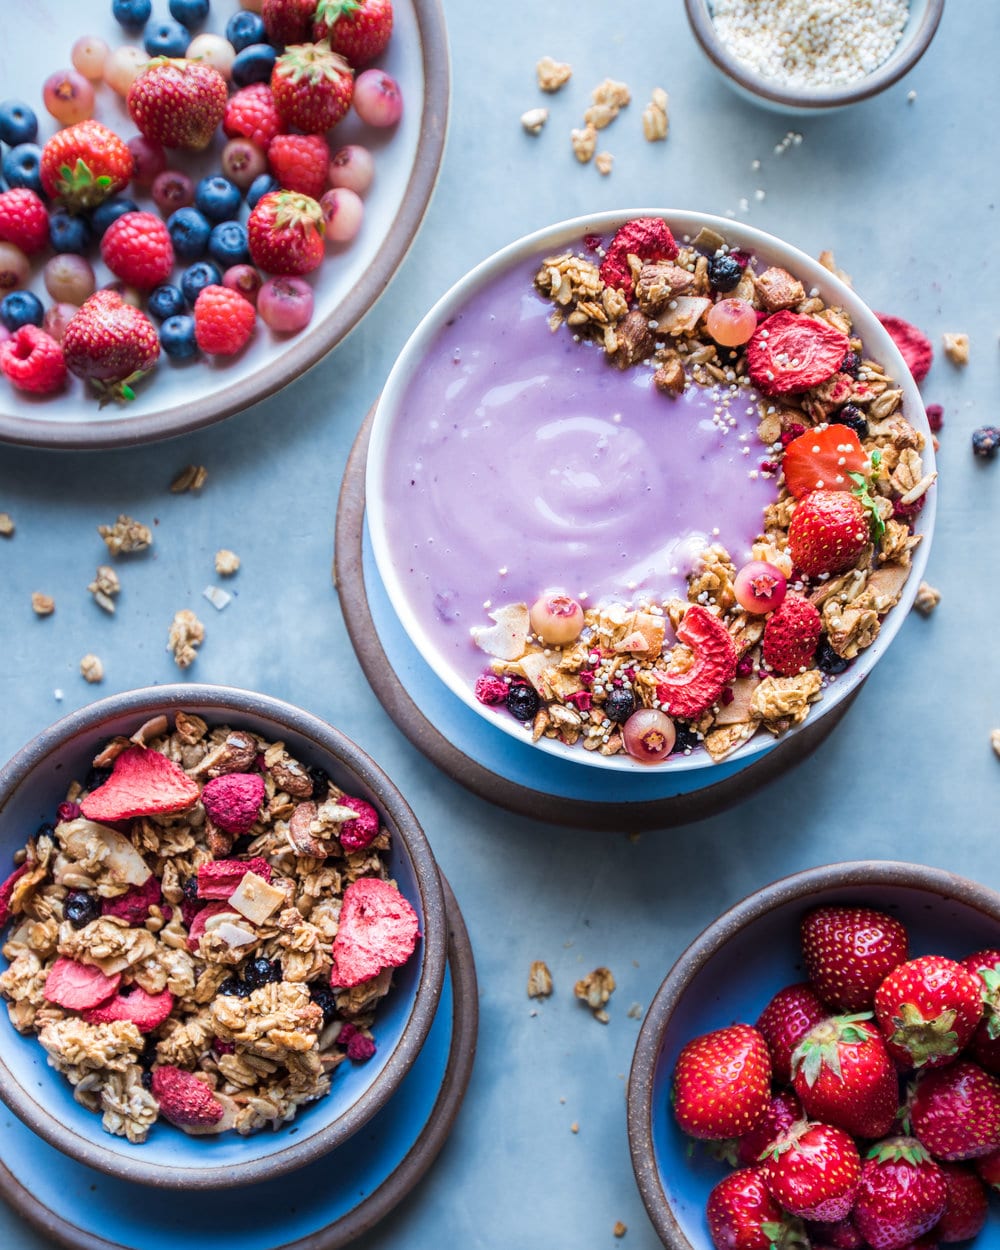
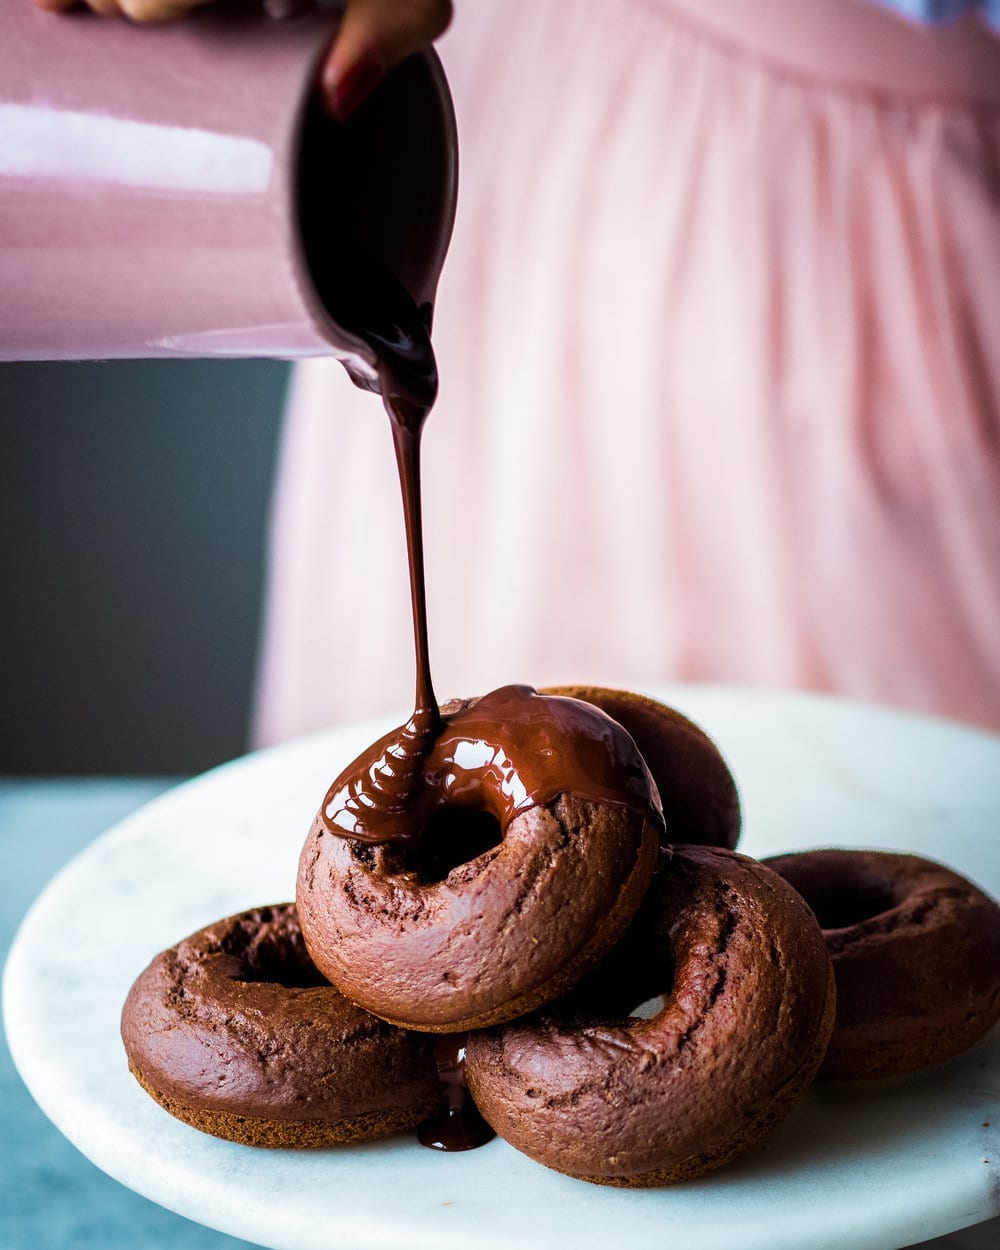
In the 3rd image is that mac and cheese, or something with pumpkin. It looks so good I need answers on how to make it. I might not be vegan but holy crap do those donuts look good.
Hi Liam, both! Here’s the recipe: https://rainbowplantlife.com/creamy-vegan-pumpkin-mac-and-cheese. We hope you get the chance to try it!
I love your style! Thank you so much for sharing your knowledge!
Thanks, Gira! We are so happy to help!
Hi nisha, this is very useful for me. Because i didn’t know too much about food photography and camera. But i like to learn More about it.
Glad you’ve found value in this post, Bincy!
Hiya, I discovered your web blog by way of Bing all the while hunting for a very similar theme, your internet site came up, it looks great the beast licence plates. I’ve got bookmarked to be able to favorites|added to my personal social bookmarks.
This was great, Nisha! Thank you so much for explaining these specific terms. It is really helpful.
Dear Nisha,
Thank you for helpful tips. It helps me a lot. I am going to read next article.
From Japan.